
In this article I will teach you how to set up useful git commands for local environment development in order to use Git on your own Windows PC. Let’s go through the steps and get you set up!
1. Installing Git
Firstly, let’s install Git from https://gitforwindows.org/
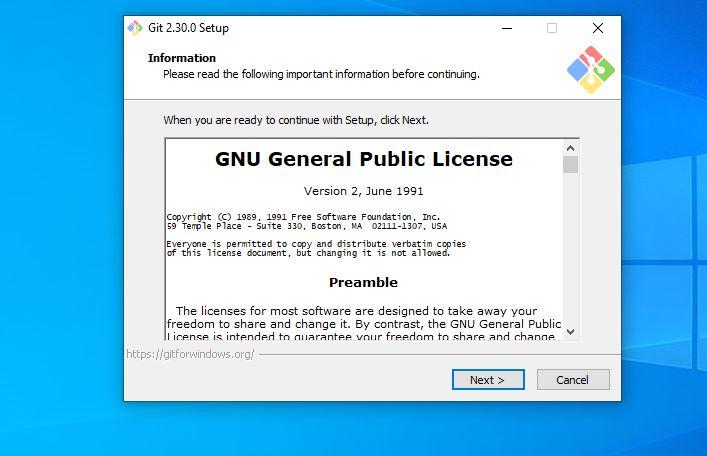
After the download is complete, open the file and an installation screen will pop up. Let’s follow the prompts and complete the installation.
Step 1. Once you agree to the terms and conditions, click “Next”.
Step 2. Select Directory where you want to install git and Click “Next”

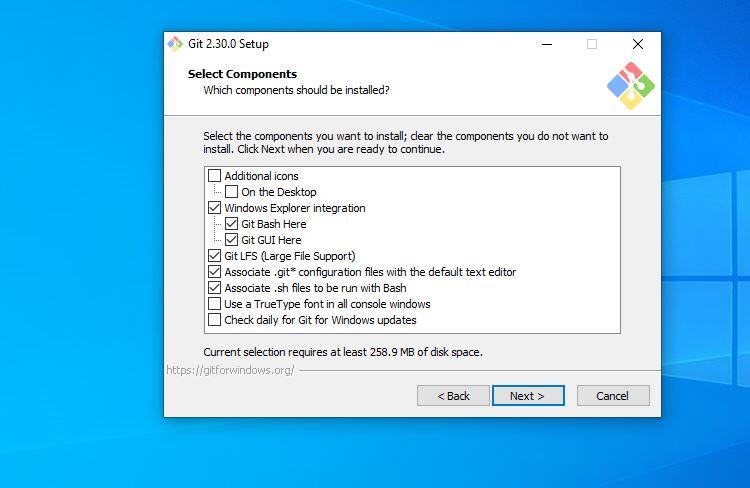
Than select components that you need. Most of the time you can go with default settings.
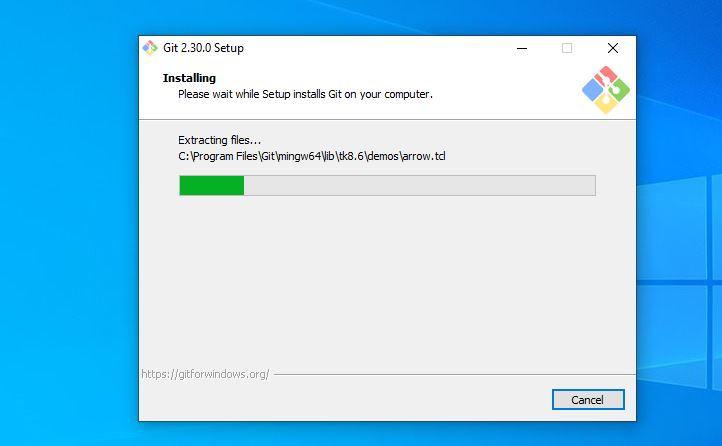
Than go next, it will start installing….
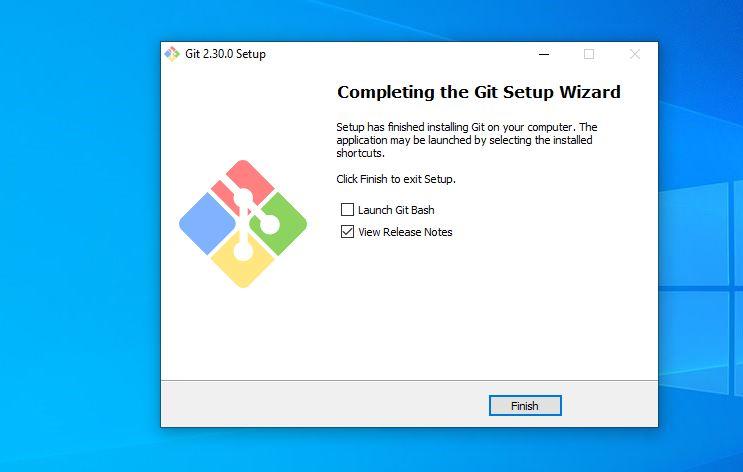
When Installation complete you can see this finish window
After that go to start button>find git bash and Click on Git Bash.
When you click on it, you will see this window.
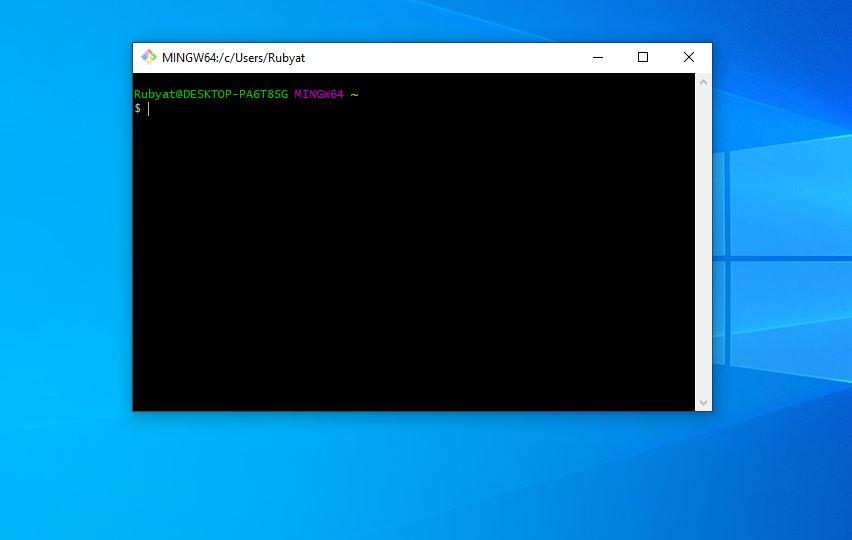
When you can see this window that means you will successfully install git on your windows PC. Now the first thing you need to do is set up an account with your version control account.
By setting up a username and email address in Git, any commits made will be recorded and you will be able to identify who the commits were created by.
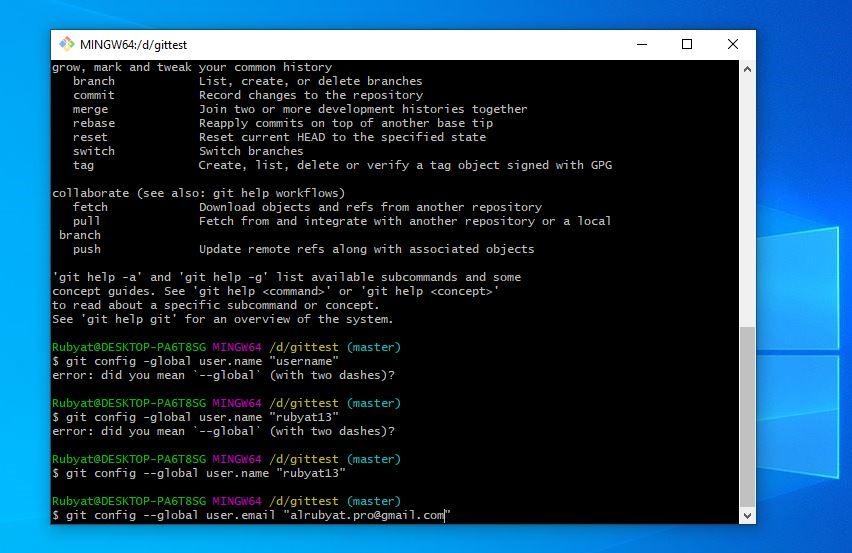
Run the commands below to set up your details:
git config –global user.name “username”
git config –global user.email “email address”
Below is just an example. Now the initial setup is complete!


