
WordPress is our preferred thanks to start a blog because it’s very easy to figure with. But the fact is it’s just as easy to forget how intimidating WordPress is when you first start a blog.
Something that gives such a lot functionality can’t be completely intuitive to a blogging newbie. There’s with great care much to believe including settings, themes, plugins and more.
With the above in mind I wanted to make a very simple guide for getting started with WordPress blogging. This is a no-frills, bare bones step-by-step guide to start out a blog that’s ready for the planet at large to ascertain.
Step 1: Get A Hosting Server
Before you start a blog you need a hosting server to host your blog. There are possibly thousands of hosting companies available out there, but all hosting is not the same.
The first rule of thumb is that nothing in life is free – especially hosting. So if you see a company advertising completely free, no strings attached hosting don’t buy it.

You’ll be much better off investing $3 to $35 per month in a decent hosting plan. But If you are a beginner, want to buy a server then I have a preferred Hostinger server for you. Currently, I am using Hostinger and its i am stuck here for this service quality. This is a very good server with better support. You can read more about hosting here.
Step 2: Install WordPress & Configure Settings
As mentioned, all three hosting plans I have recommend are fully compatible with WordPress and perfect if you want to start a blog. Once you’ve selected a plan you’ll need to install and setup WordPress for your website.
Depending on your host installation of WordPress may vary a bit, but no matter which you choose your site should be live and ready for blogging in very little time.
Once you have installed WordPress and ready, You can head over to your URL to log into WordPress. There should be a link to your WordPress login from your hosting account (usually it goes to your-url.com/wp-admin or something similar).
Use the admin name or email and password that you created when setting up your information for your hosting account.
WordPress is open source and highly customizable (in fact it is 100% customizable as it is open source software), but for the purposes of this guide I am referring to the settings accessed via your WordPress dashboard.
If you hover over the Settings Menu item in your sidebar you will see a number of options.

General WordPress Settings
On of the the most important settings are the fields to enter your Site Title & Tagline. You can go there and change them at any time, but it is a good to have an idea of what you want to use for these from the beginning for consistent branding.
The Title will probably just be your site name, brand or your name (if it’s a personal blog), so that’s easy. For your Tagline think about what your wanted to start a blog in the first place. It should describe what your blog is about.
You can also change the date and time format from this page if you so wish.

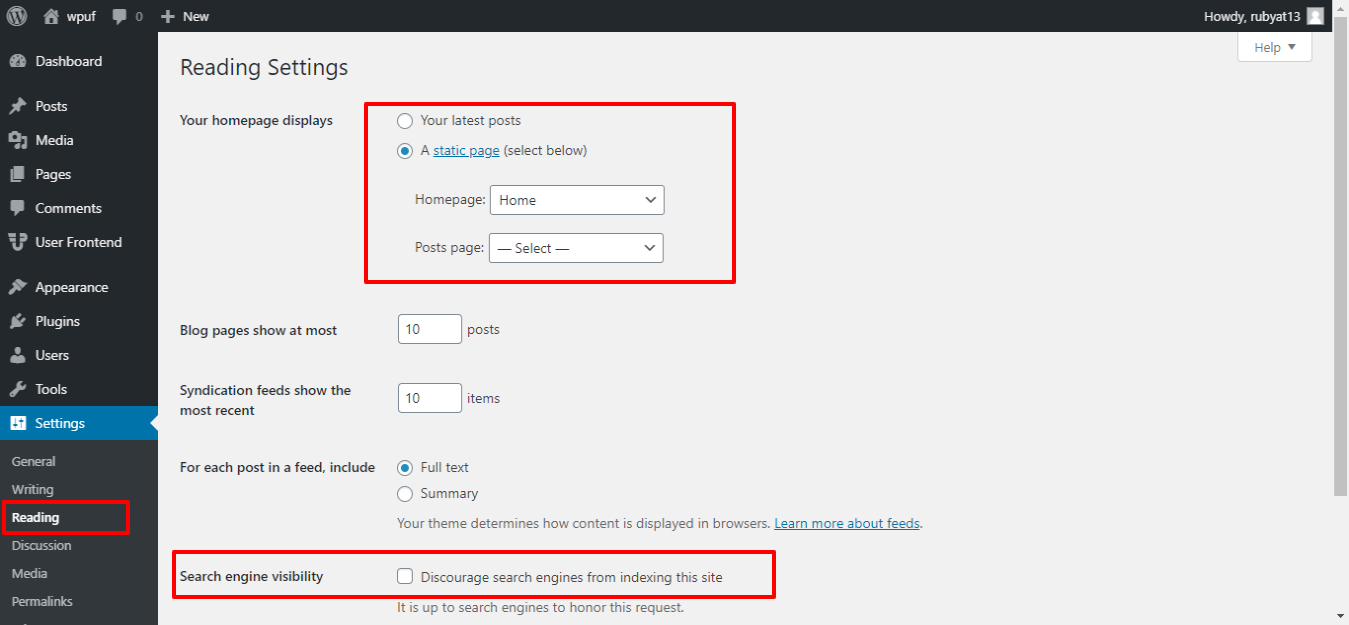
Reading WordPress Settings
This is the most important setting for any wordpress site that you must know. In this setting you will find home page setting and by using this option you can set your customized home page or you set set latest post on your site homepage.
Also you will find Search Engine Visibility setting here. If you don’t check this button, your blog will appear in search results.
Permalink WordPress Settings
You can also set your blog permalink. This is the most important setting for wordpress users. If you post a blog than you will get a post link. For example the permalink for this page is “get-started-wordpress-blogging”.
On this settings page you’ll be presented with a list of different permalink formats. By default WordPress is set to use the post id which isn’t very pretty.
Instead we generally prefer and recommend the Post name option since it’s easy to use, is visually appealing and it’s an extra boost to your SEO (using your keyword in your slug is typically a good thing).

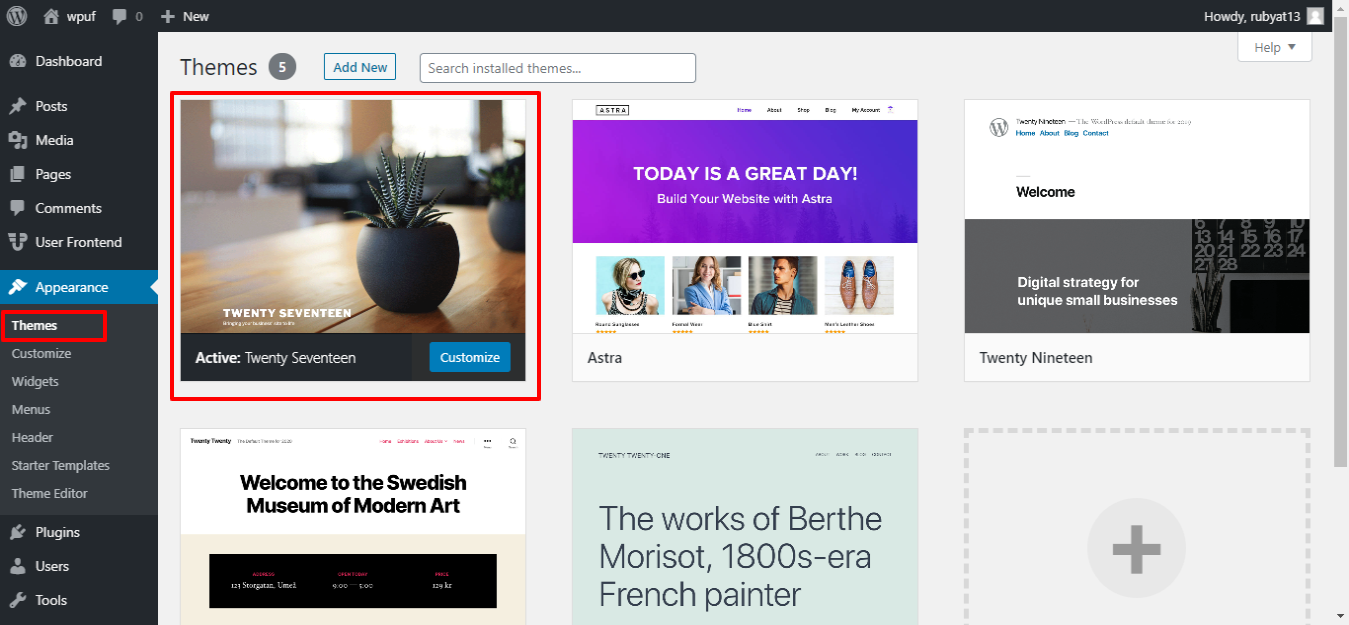
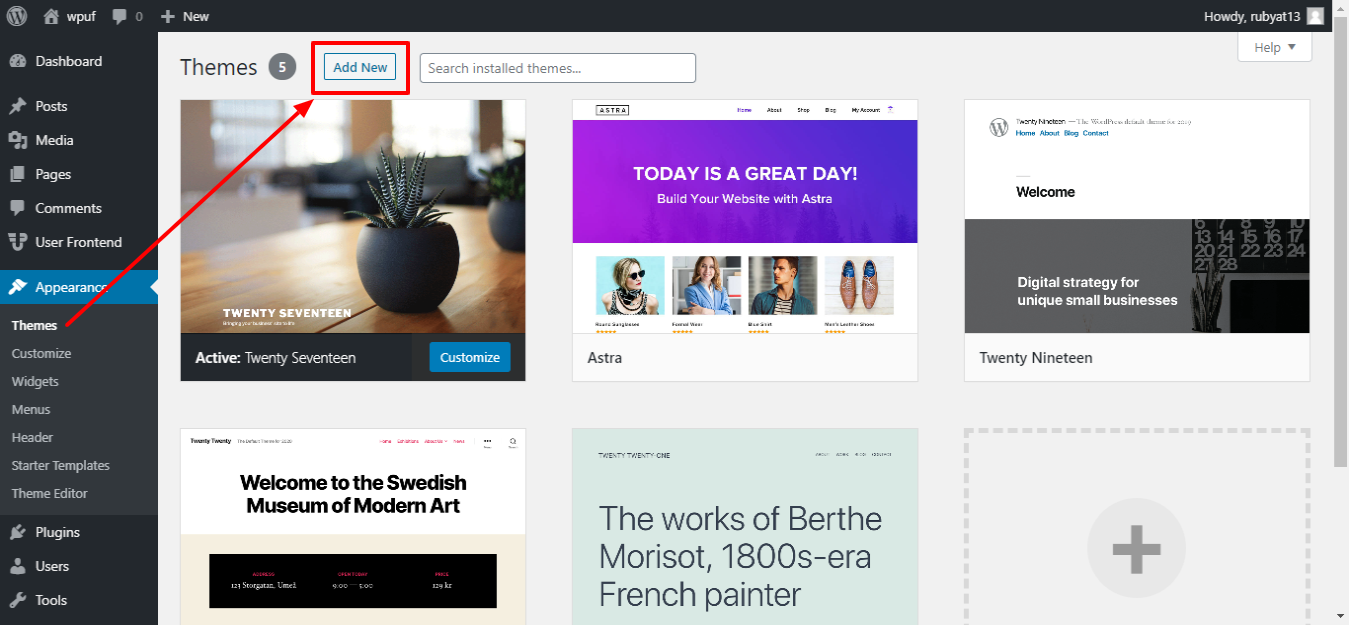
Step 3: Choose a WordPress Theme to Start a Blog
This is where most new bloggers get tripped up – they spend hours and hours in search of a perfect theme. So let me take a load off your mind: your theme is not that important when you are just getting started.
Your sole focus should be creating content and getting it out there for people to see. Don’t worry about your site’s design too much until you have a sizable audience to tell you whether or not they like it.
By default, you’ll see the yearly WordPress theme active on your website. Automattic release a new one each year and each one is geared towards bloggers(the most recent theme Twenty Seventeen, but Twenty Eighteen is on it’s way).
Each year this new theme is typically more than suitable for those just getting started with WordPress to start.
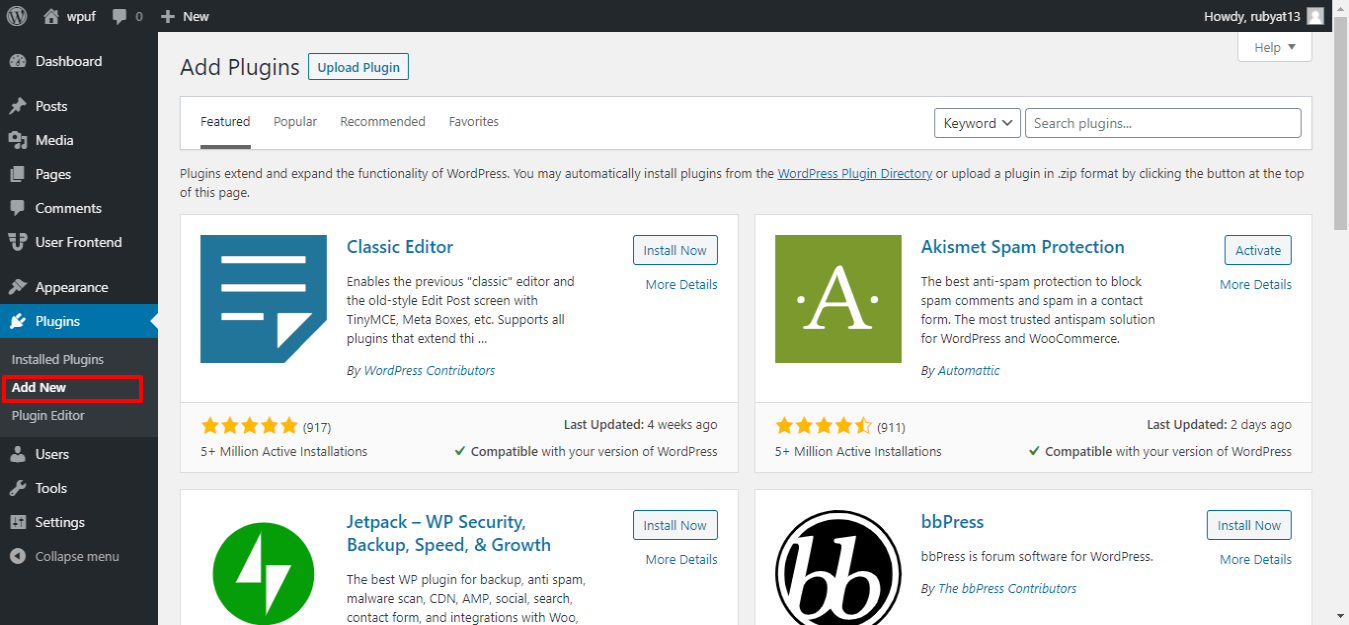
Step 4: Install Recommended Plugins
If themes are the first stumbling blocks for new bloggers then plugins have to take second place. It is all too easy to spend hours installing any number of plugins before you actually get anything done in terms of content creation. It’s a huge time suck.
In reality you do not need any plugins to get started as a blogger. WordPress is well-equipped out of the box. However, there are some plugins that I would recommend you install and activate in order to get the most out of your blog.
Step 5: Create Your 1st Blog Post and publish
Let’s take a look at creating your first post. Just navigate to Posts > Add New via your sidebar and you’ll be presented with a screen similar to that shown below:

Write your content:
This goes in the main text editor box that takes up the majority of the screen. This is a what-you-see-is-what-you-get editor (WYSIWYG for short), meaning you can see the changes you make with the editor when using the included options (bold, italics, font sizes, links, etc) or inserting media (images, video links, etc).
Featured image, category & tags:
If you want to add a featured image now is the time to do so. We also recommend using categories (broad groupings of posts) and tags (specific, niche descriptors) since they make it easier for readers to browse your website later on when you have hundreds of posts on your blog.
With those three points covered, click the Publish button. That’s it – creating content in WordPress is that easy!


