
Which payment gateway is best for Dokan multi-vendor marketplace?
Dokan has two types of payment gateway methods. One is the adaptive payment gateway and another is the non-adaptive payment gateway.
Dokan Stripe Connect, Dokan PayPal Marketplace, RazorPay payment gateway, and MangoPay are the adaptive payment gateway and the rest of WooCommerce payment gateway is the non-adaptive payment gateway.
I will always Configure Dokan Stripe Connect for my clients. Using the adaptive payment gateway for Dokan, when a customer purchases a product that time admin commission and vendor revenue will split in real-time. That means all processes will be done automatically.
And using the non-adaptive payment gateway solution, when a customer purchases a product that time the whole product price will go to the admin account. In that case, vendors are allowed to see their earning amount. Admin needs to set a minimum withdrawal limit. When a vendor will reach that limit he/she can send a withdrawal request to the admin.
After that, the admin will approve his request and send vendor revenue to their account via Paypal or bank transfer. That means, using the non-adaptive payment gateway solution. All processes will be done manually.
Now I am going to show how to Setup Dokan Stripe Connect payment gateway. Before starting the Configuration process I will describe what Stripe Connect is and how it will work with Dokan.
Dokan Stripe Connect will allow splitting the payment between admin and vendor. Lets say your customer is purchasing from five different vendors which is 100$ and You’ve set that your admin commission is 10% then admin will get 10$ and rest of the 90$ will get five vendors automatically for their product
From the smooth and faster payment, you need a fast and reliable server also, Click here to know the best hosting provider for Multi-vendor
Also, for this automatic process, each and every vendor needs their own stripe account connected to their vendor dashboard.
Best way to Configure Dokan Stripe Connect in 2024
So, let’s see how the admin will Configure Dokan Stripe Connect for his Multi Vendor Marketplace.
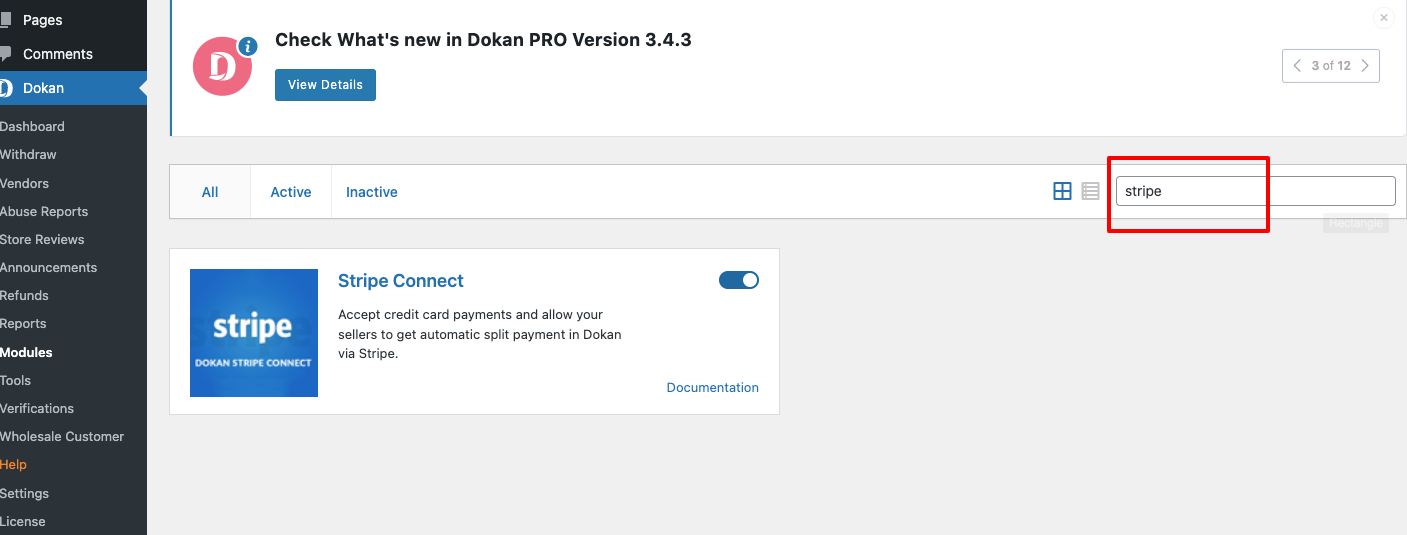
Procedure: Admin needs to go to the Dokan > module option, here admin will get the Dokan Stripe Connect Module.
Note: Stripe Connect Module is available in Professional, Business and Enterprise plan.

If the admin will not find it easily, admin can write on the search bar the module name “Stripe Connect” And the search result will show the module Stripe Connect.
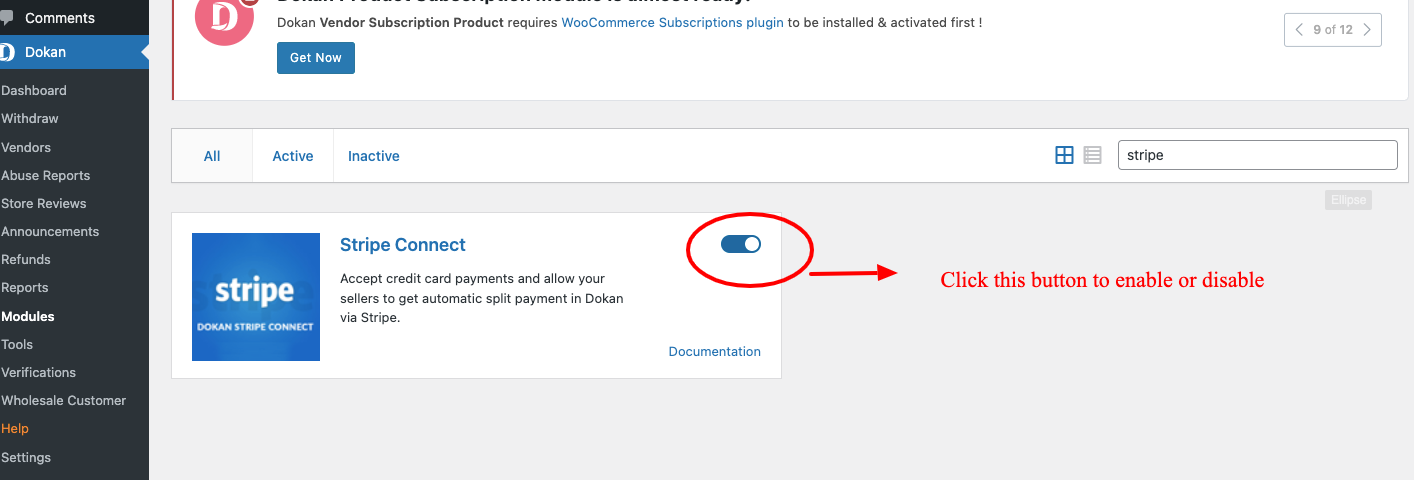
After that, Admin needs to enable the module by Clicking the toggle button.
After enabling the Stripe Connect module, Admin needs to go to wooCommerce > Setting > Payments tab option, as you can see the screenshot below.

Here the admin will get the Stripe Connect payment option. Now the admin needs to enable the option by clicking the toggle button.

So, After clicking the Stripe Setup button, It will open a new setting page for Stripe Connect like the Screenshot below. If the admin wants to change the title and description of the payment method he will be able to do that from this page.
If an admin lives in europe and his country requires a secure authentication payment then he will be able to 3D Secure and SCA and If you are not from that country which requires Secure Authentication then you can keep it disable.
Also, if there are any vendors available who do not have connected Stripe Connect to their vendor account then by default none of the customers would be able to purchase that vendor product.
In that case, the Admin will still allow the customer to purchase from a non Connected vendor by clicking the Non-connected sellers option.
If the admin enable that and customer purchase product from a non connected vendor then the whole money will go to the admin account and later vendor can make the withdrew request from vendor.

Well, I am configuring this for testing purposes. I will click the test mode option. Now you can see there are some live credentials fields to configure the Stripe Connect.

Now I am going to configure and show you how you get the Credentials.
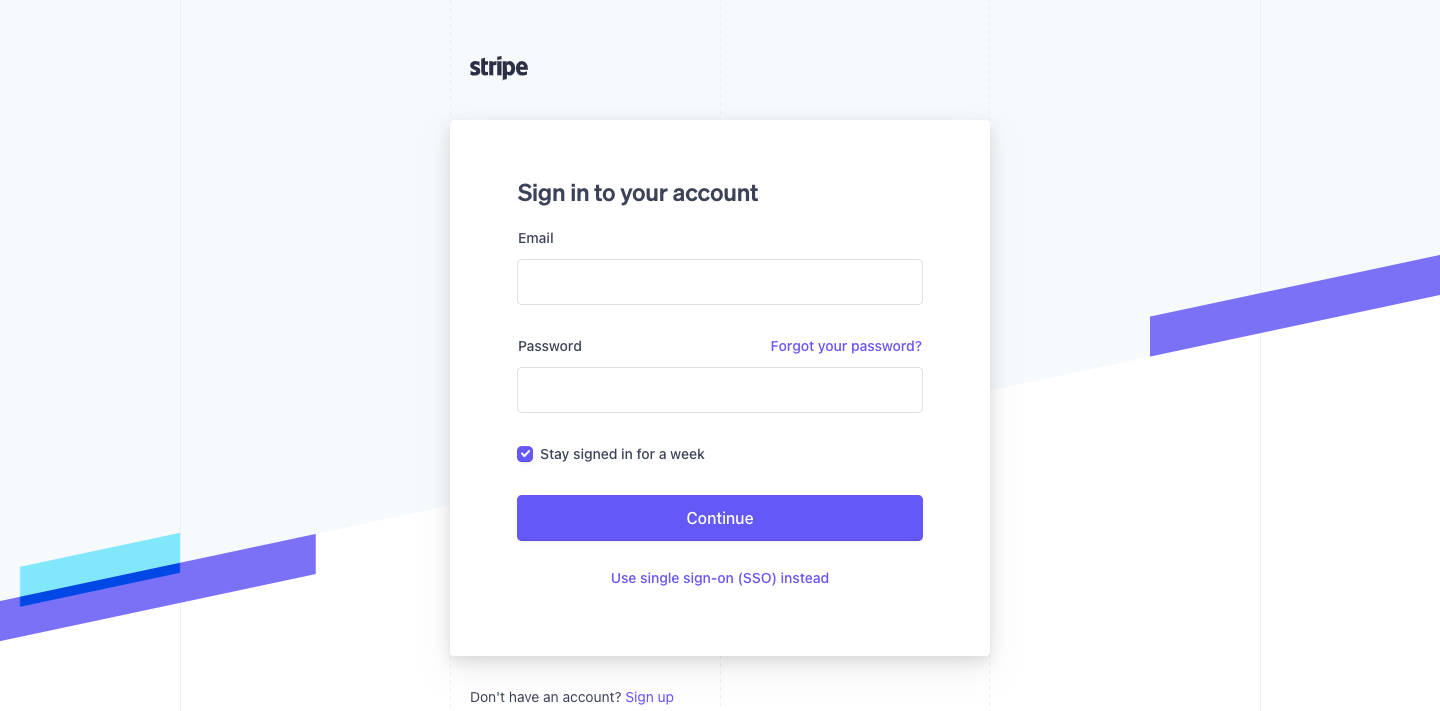
To get this Credentials Admin needs to go to the Stripe account website and login to his Stripe Account. Admin will get the login option here: https://dashboard.stripe.com/login
After login Admin needs to enable the test mode for testing the payment gateway.

Then Admin needs to go to the Connect option, Sometimes you will not be able to see the connect option, that means your stripe account is not ready to test the payment gateway. In that case, You need to apply to the stripe for enabling Connect option.

Now Go to the Developers > API Keys, Here you will get the Publishable key. Just Copy the Publishable key and get back to the admin website then paste it to the Test Publishable Key fields.

And you will get the Secret key below the Publishable key in the same page. Just click generate and copy the Secret key, get back to the website and paste it to the Test Secret Key fields.

Admin needs the Client Id And that’s the most important thing, Many users fail to generate Client Id. Now what admin need to do, He need to go to Stripe account Connect > Connect Setting option again and make sure OAuth for standard accounts is enabled. Then copy the Client ID and get back to the website.

And pate is over the client id fields. And finally Adin can Click the save changes button.

After that you can see this message.

Now if the admin wants to connect to his vendor from their dashboard then the admin will need to insert the redirect URL you have seen in the message. Just Copy the URL and go to Stripe Connect account and go to stripe account.

After that Click the Add Url button.

Paste it over there and Click add url.

And it will add the url. It will be like this.

And The Admin Configuration has been done. If you are on the live mode Then you need to follow the same procedure just you have to turn off the test mode and replace all the keys from the live mode.
And finally the configuration is done and Vendor is ready to go and they can easily connect their own stripe account to their dashboard.

If vendor Click on the Connect with Stripe Button it will redirect him to the stripe page. Now vendor can connect their account and they can start selling. 🙂

Please Note That: A vendor account should be a separate stripe account from the admin account. That means the same stripe account can not be used by the admin and vendor.


Thanks for this tutorial. it help me a lot.
Regards,
Kami